In this article, we will look at how to create attributes in UnoPim.
To start, let’s understand what an attribute is: it’s a feature of a product, like its name, description, price, color etc.
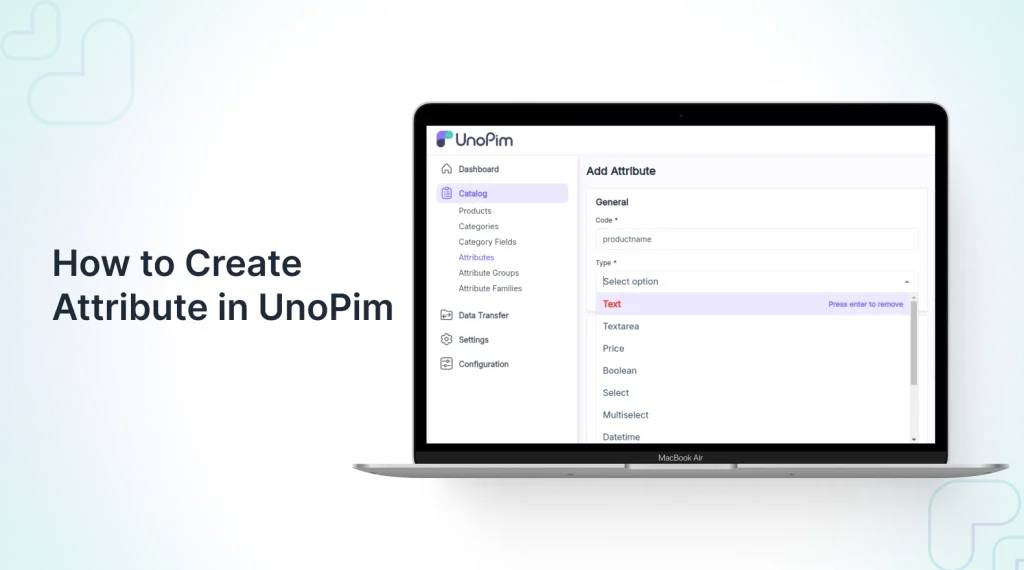
An attribute is a characteristic or property that describes a product. It specifies details or features within the product information management system.
In UnoPIM, you can choose from 11 different types of attributes.
Want to learn more about UnoPim? Check out this overview: What is UnoPim
Video Tutorials
Check out the following video tutorials below:
Types of Attribute In UnoPim
A product attribute is a feature that describes what a product is like. UnoPim offers many different types of attributes to choose from.
- Text: A single-line field , usually for a product name.
- Text Area: A multi-line field for entering product descriptions.
- Boolean: A yes/no option with a default value used when no value is specified during product creation.
- Select: A dropdown list where only one option can be chosen.
- Multi Select: A dropdown list where multiple options can be selected.
- Date: A field with a calendar to choose the year, month, and day.
- Date Time: Displays both date and time in your chosen date and time.
- Image: Uploading images with extensions like gif, jpeg, png, and more.
- File: Uploading files with extensions like csv, docx, and pdf.
- Checkbox: An option that can be checked or unchecked.
- Price: A field for entering prices in different currencies, shown based on the currencies enabled in UnoPim.
Create Attributes in UnoPim
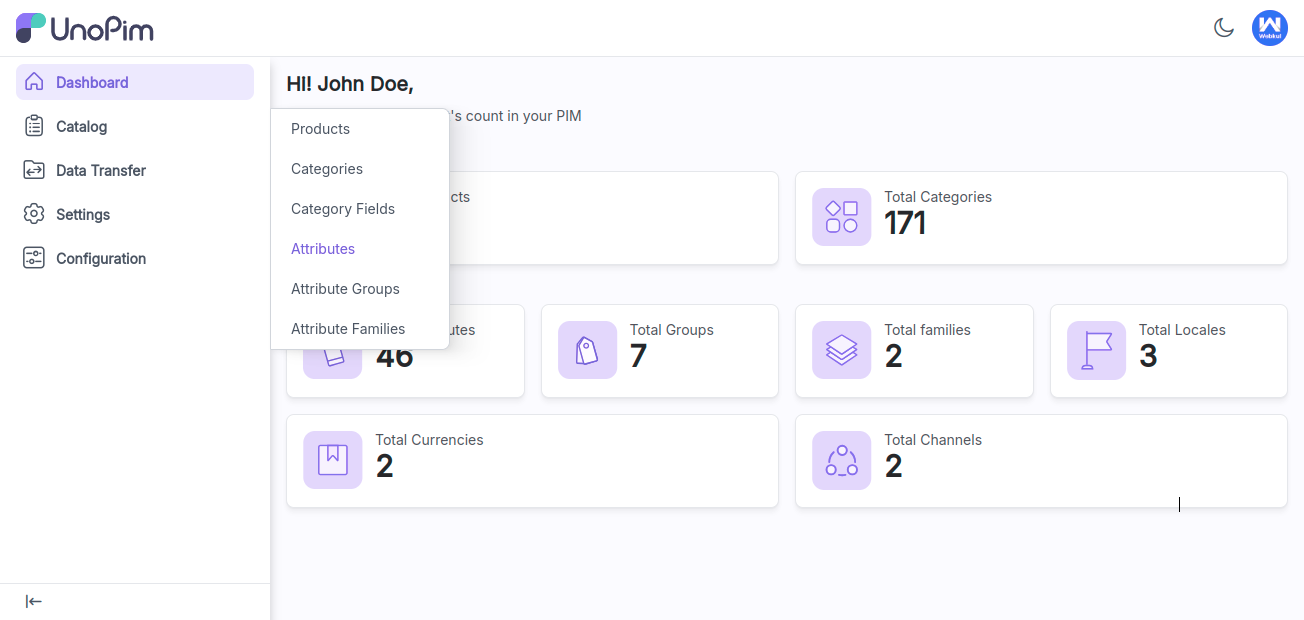
To create an attribute in UnoPim, the user first needs to go to the UnoPim Dashboard.
Next, click on “Catalog” and then “Attribute.”
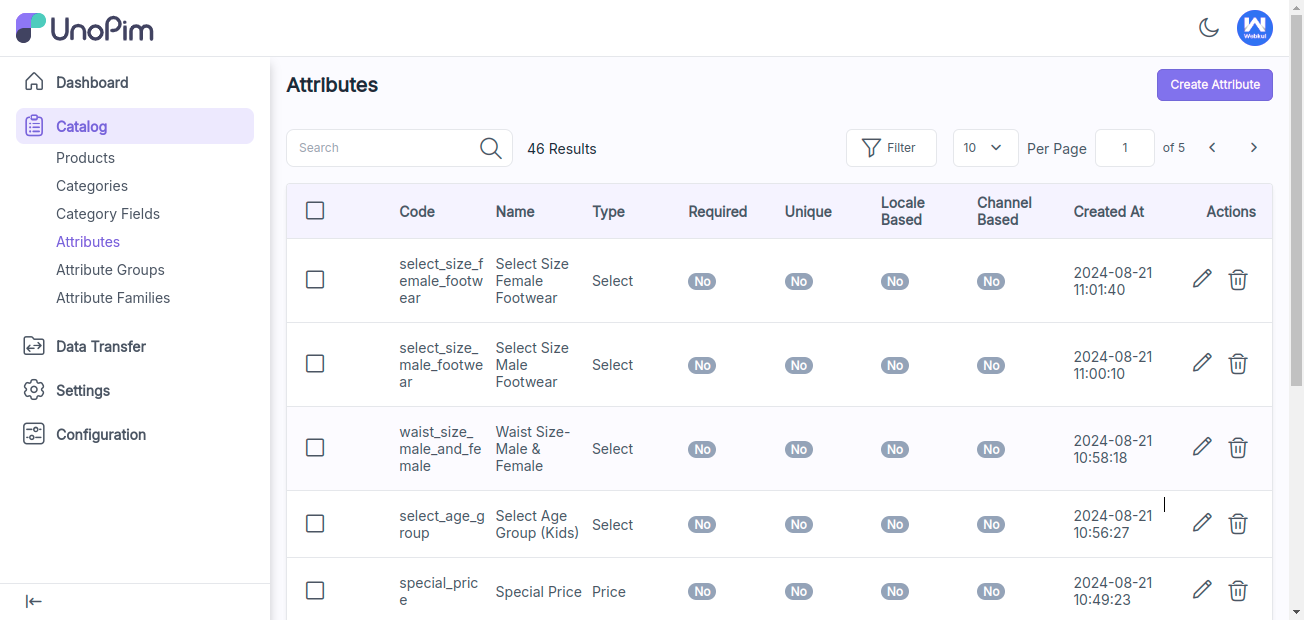
To create a new attribute, click the “Create Attribute” option on the right side of the dashboard.
After that, enter the label and code, and select the attribute type.
Type:- There are various attribute types available in UnoPim such as Text, Textarea, Price, Boolean, Select, Multi-select, DateTime, checkbox and Date.
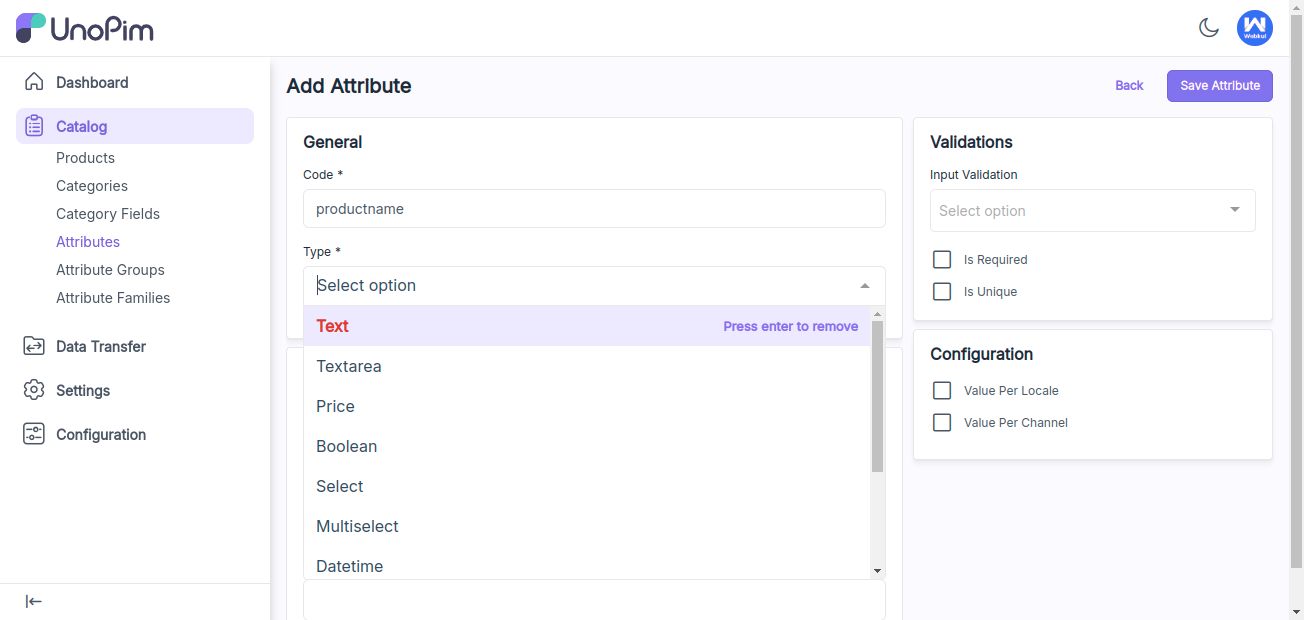
After that you can click on the validation and configurations.
In text type of attribute you can select the input validation for the attribute as per your need.
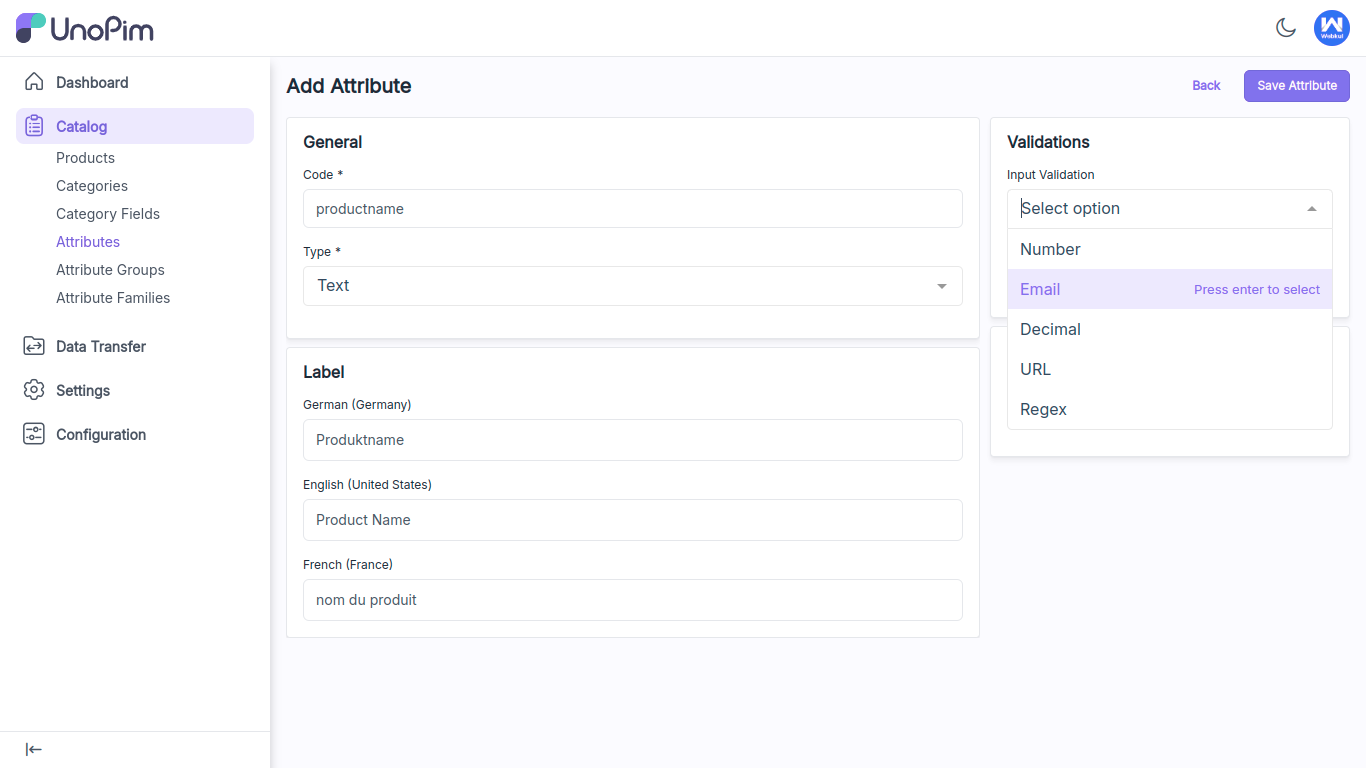
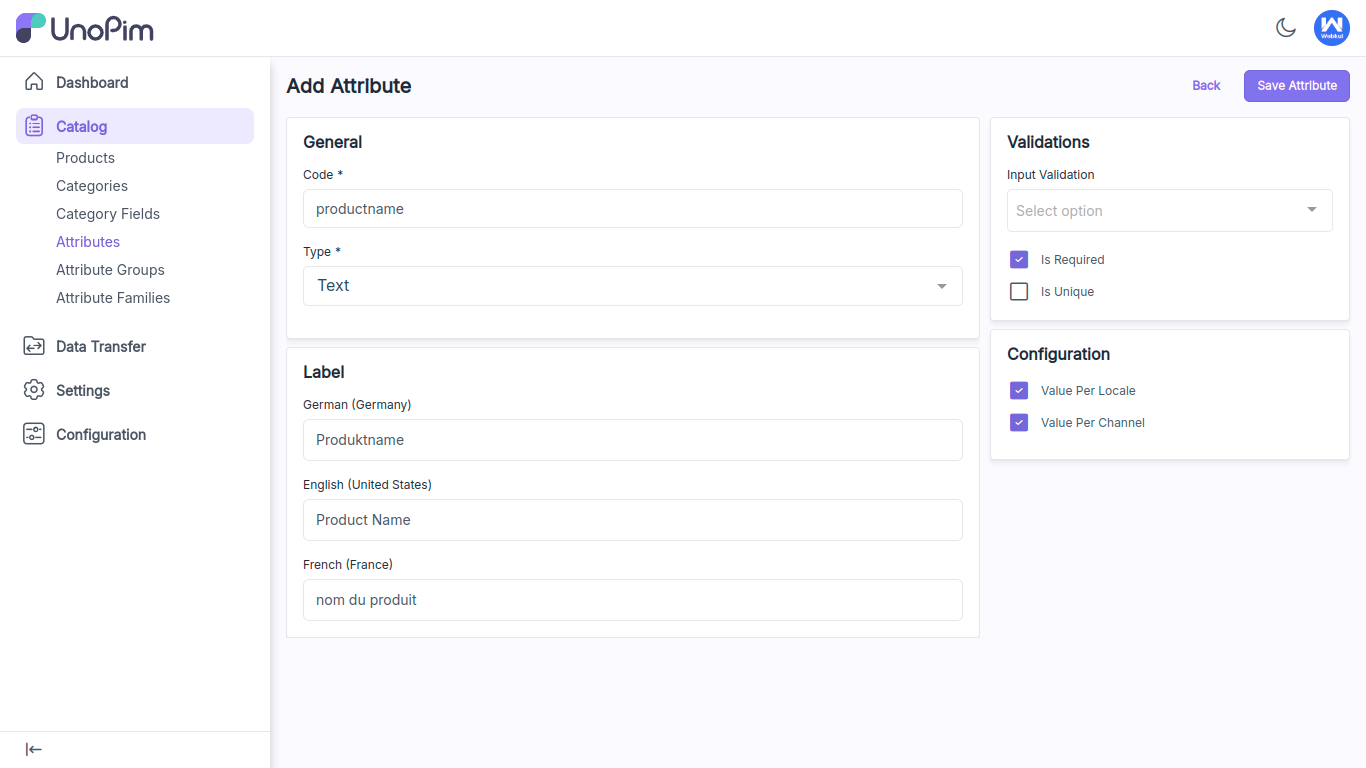
Is Required: Click on the checkbox if the attribute is required.
Is Unique: In the text, data, and datetime attributes, you can designate the attribute value as unique by selecting the checkbox.
Value per Channel: The user can click on the check box if they want to add a different value per channel.
Value per Locale: The user can click on the check box if they want to have a different value per locale.
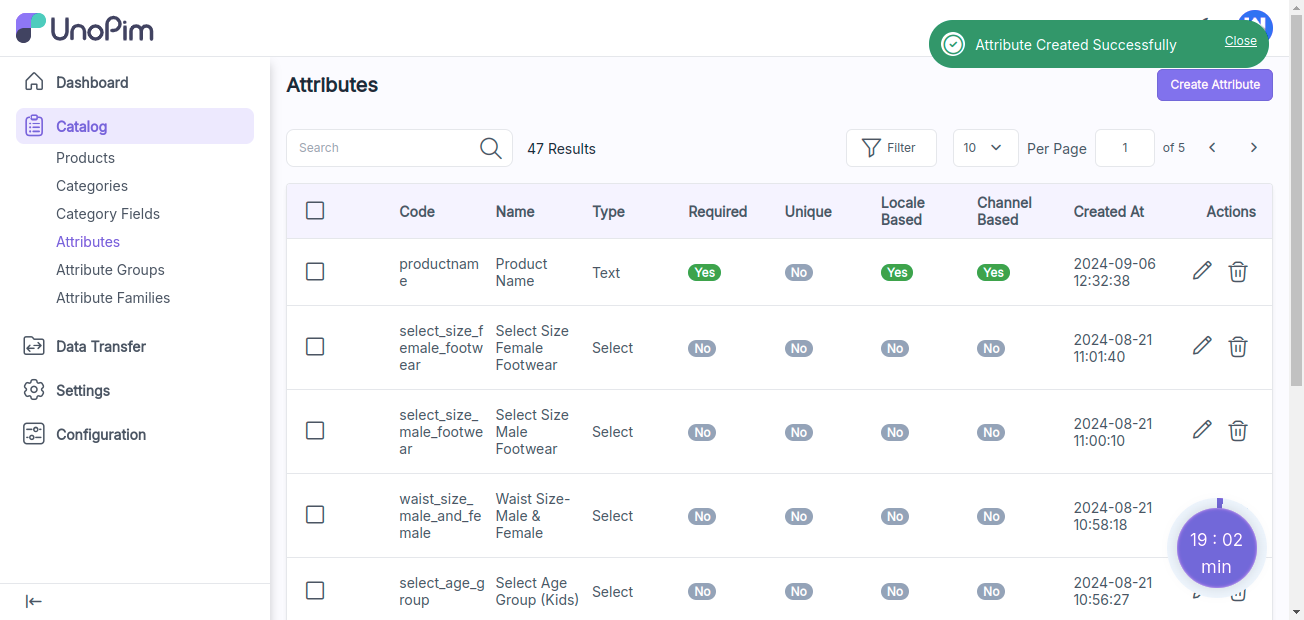
After that, you will receive a notification confirming that the attribute has been successfully created. The user can then view all the attribute in the grid.
This is how you can create an attributes in UnoPim. Hope this helps! If you encounter any issues, feel free to submit a ticket at our Support Portal.


Be the first to comment.