In UnoPim, managing user roles is important for controlling access and ensuring that users have the appropriate permissions for managing the product data.
Roles help decide what actions and responsibilities each user has on the platform, which helps keep the data safe and makes everything run smoothly.
Here we’ll discuss how to create and assign roles in the open source PIM (Product Information Management) system, UnoPim.
Whether you want to set permissions for one person or create general roles in UnoPim for a group, we’ll take you through each step.
This way, you can manage access in a smart and easy way.
Steps to Create Roles in UnoPIM
To create and manage a new role in Unopim, log in to your Unopim dashboard, then click on Settings > Roles.
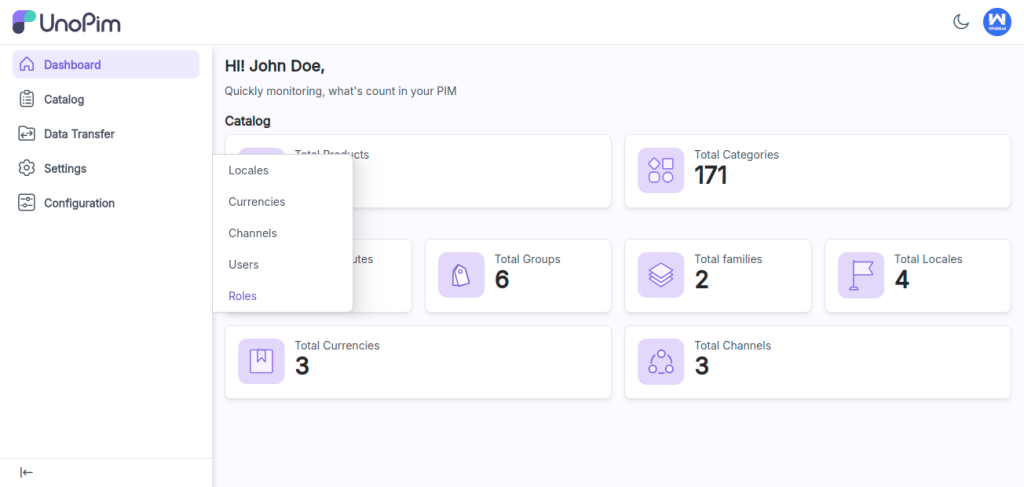
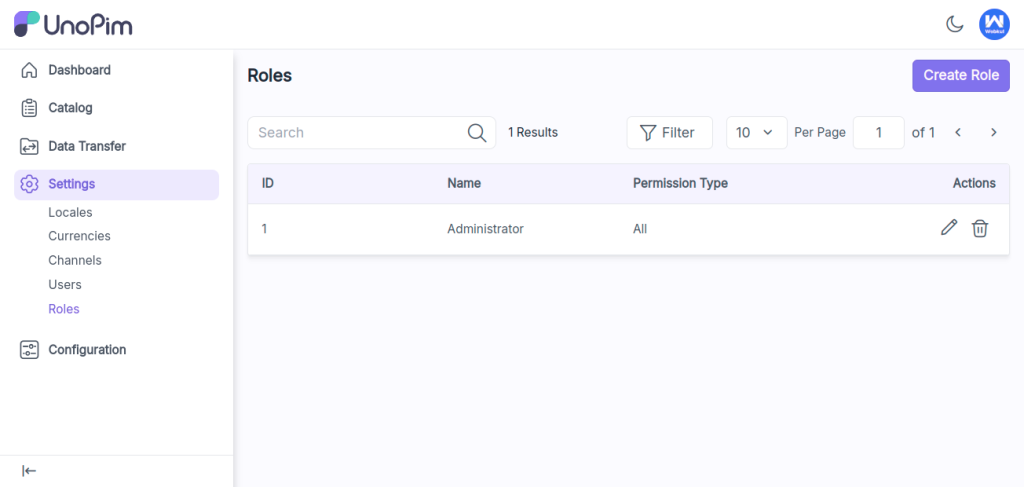
Here, you can view all existing UnoPim roles and create a new one by clicking the Create Role button.
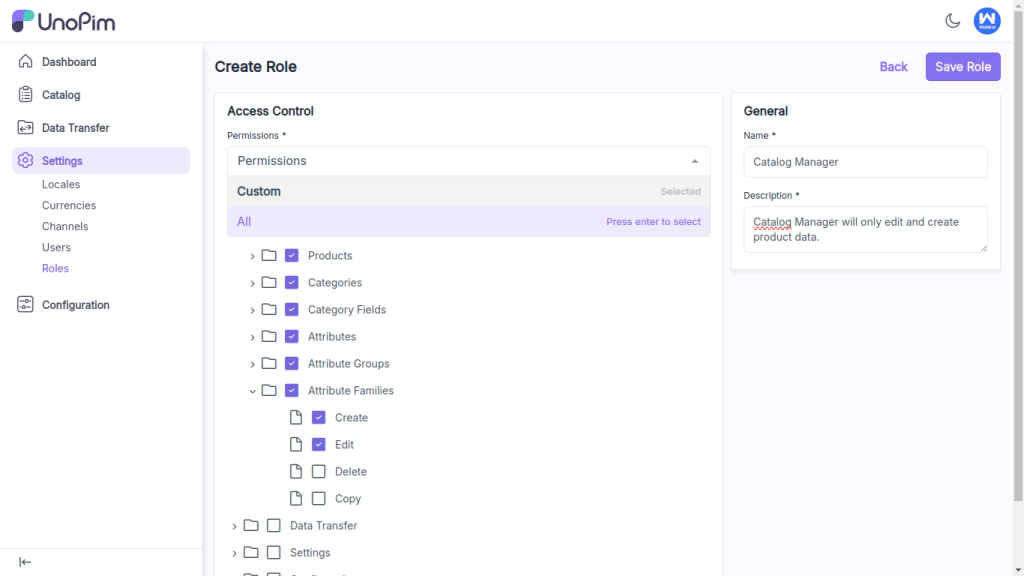
Here are the fields you need to add when creating a new role:
- Permissions: Choose between the two options for UnoPim role permissions: Custom or All.
- Custom: Select the permissions you want to assign to the user by checking or unchecking the boxes for their role.
- All: Select this option if you want the user to have access to all menus and features.
- Name: Enter a unique name for the UnoPim role. This will help identify the role and its associated permissions within the system.
- Description: Provide a brief description of the role. This can include the purpose of the role in UnoPim and any relevant details to clarify what the role is for and what access it provides.
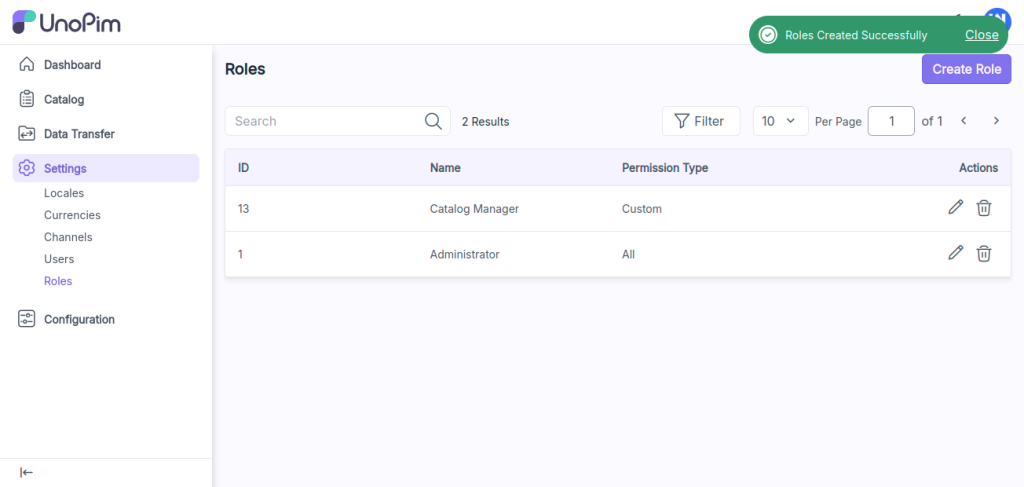
Click Save Role to create the new role. It will now appear successfully in the Roles data grid.
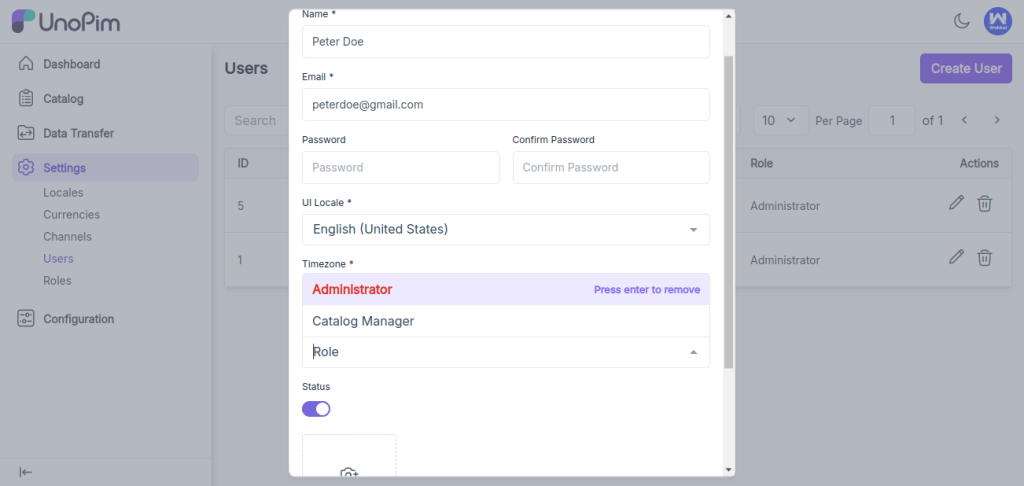
You can assign the new role either when creating a user or by editing an existing user. Simply go to Settings > Users, as shown in the image below.
Note: To learn how to create a user in UnoPim, check out the blog here: How to Create a User in UnoPim.
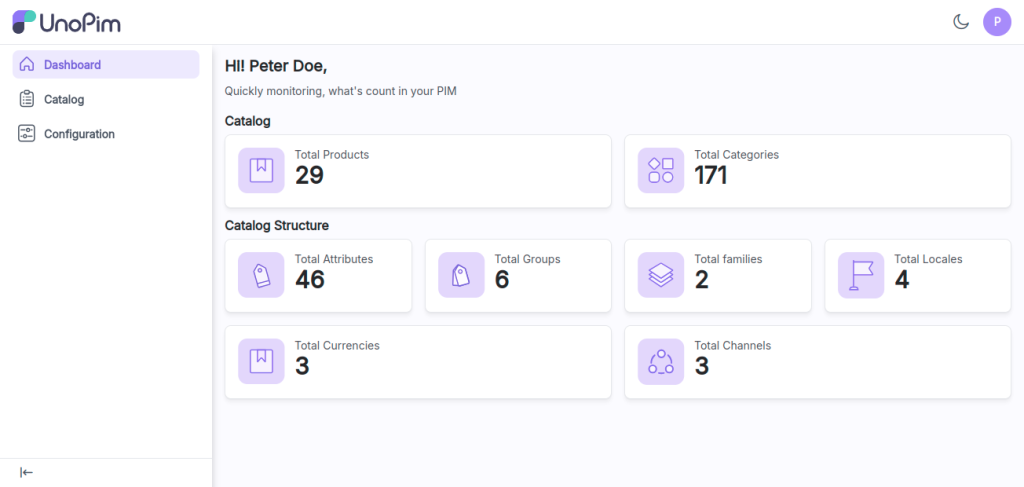
Now, log in with the new user and verify the custom permissions assigned to them.
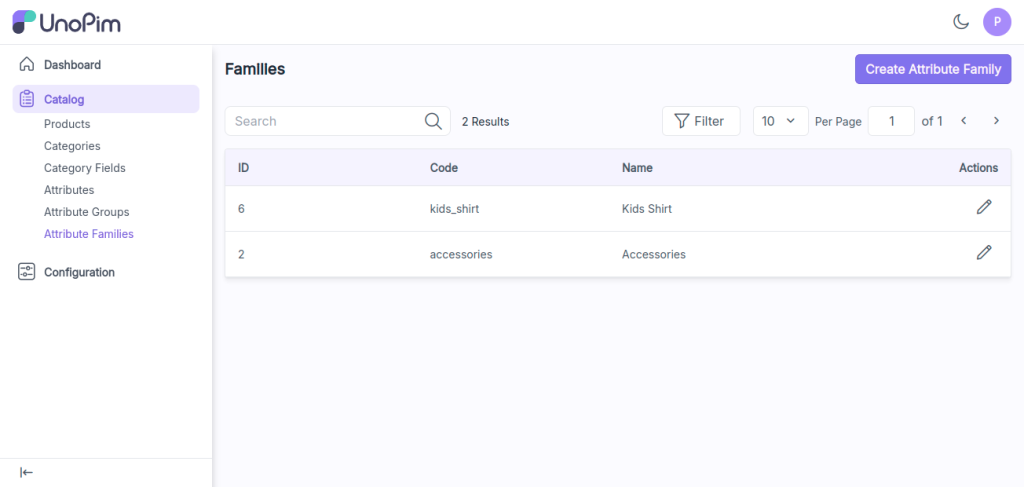
As shown in the image below, the user only has “Create” and “Edit” permissions, while the “Delete” and “Copy” options are not visible, as these permissions were not granted for the particular role.
Hope this helps! If you encounter any issues, feel free to submit a ticket at our Support Portal.


Be the first to comment.