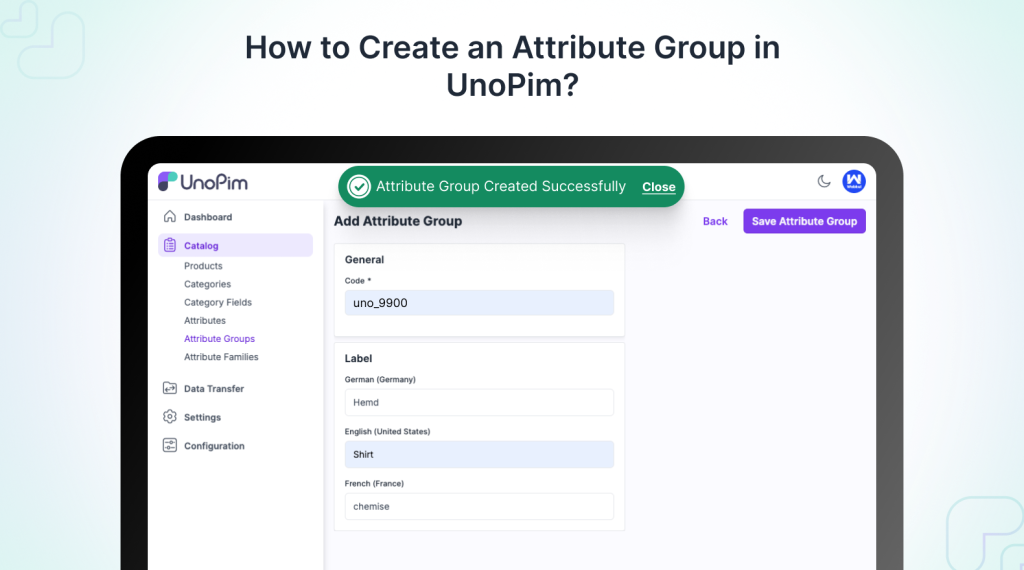
This article will help you learn how to make an attribute group in UnoPim.
An attribute group is a set of attributes that defines similar characteristics of products. Users can create and manage these attribute groups in UnoPim.

Creating attribute groups is easy and helps you sort attributes, which makes it easier to handle and improve them in the product form.
To learn more about creating attributes in UnoPim, check out the guide: “How to Create an Attribute in UnoPim.”
Video Tutorials
Check out the following video tutorials below:
Why Create Attribute Groups?
Attribute groups are useful because they organize attributes that have similar features. This makes it simpler to handle and find product information.
When you group attributes, it helps make product management smoother and sorting faster, which is important for keeping an orderly product catalog.
Create an Attribute Group in UnoPim
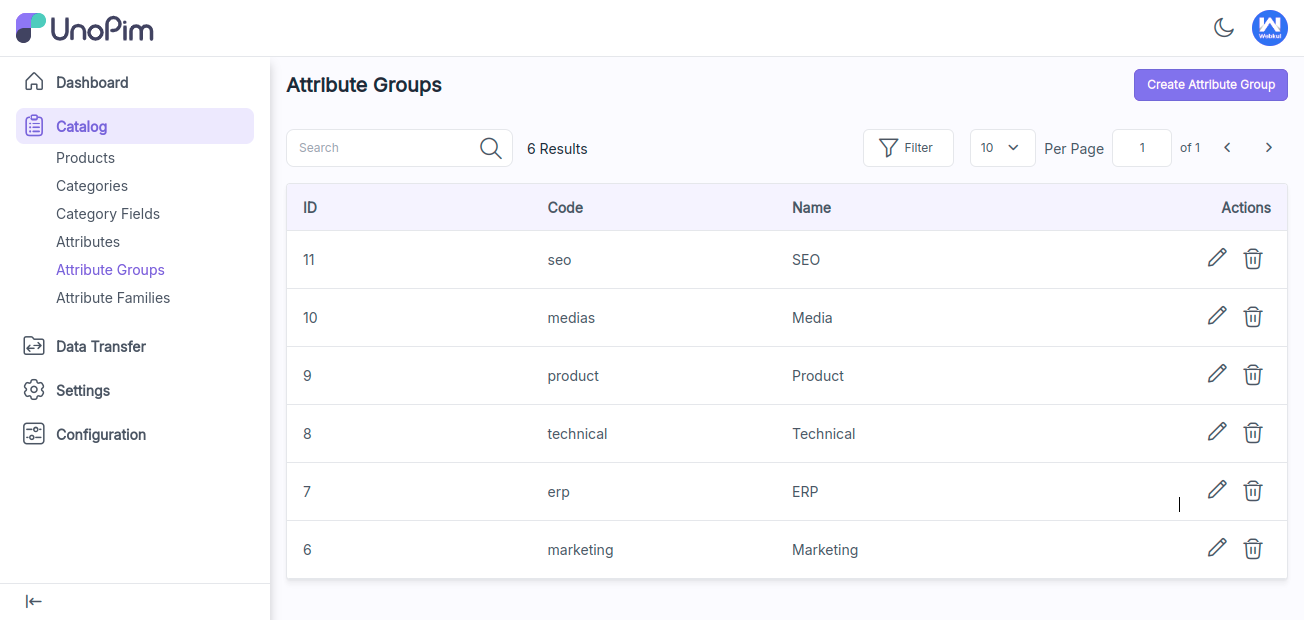
Now lets see how to create a new attribute group. To start creating a new attribute group, first click on “Attribute Groups.”
Then, select the “Create Attribute Group” option on the right side of the dashboard.

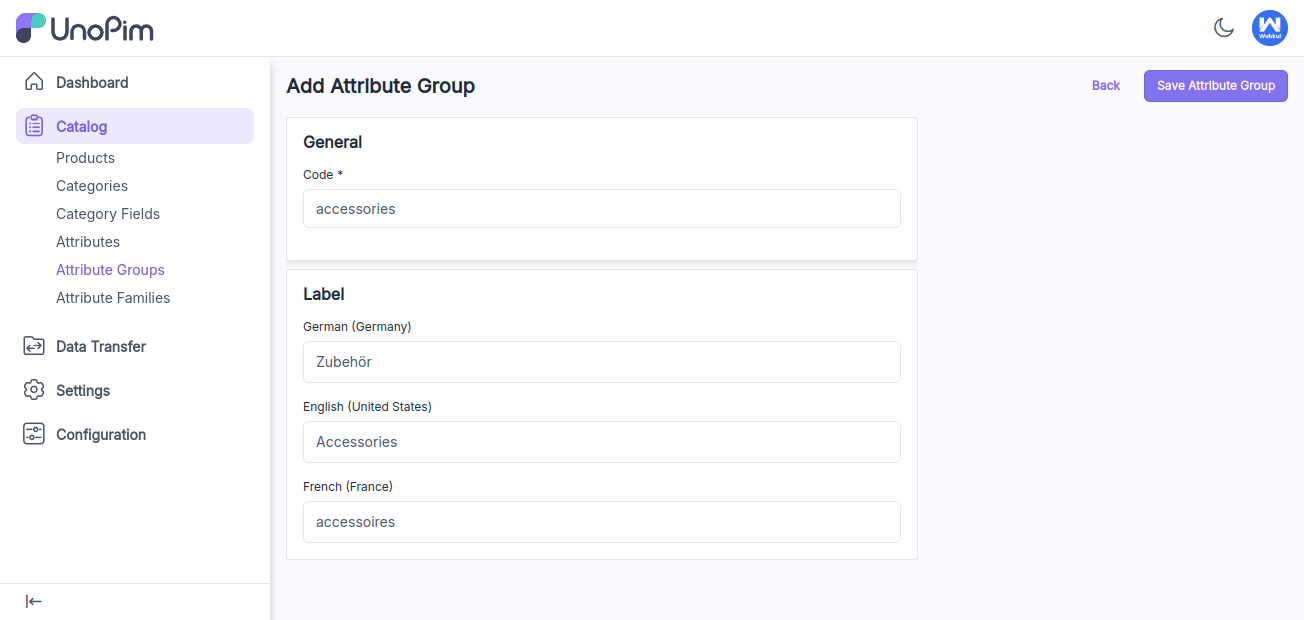
After that the user needs to enter two values:
Code: Here, the user should enter a code, which will serve as the name for the attribute group.
Label Translation: This section allows the user to select different locales, enabling the management of product information in multiple languages.

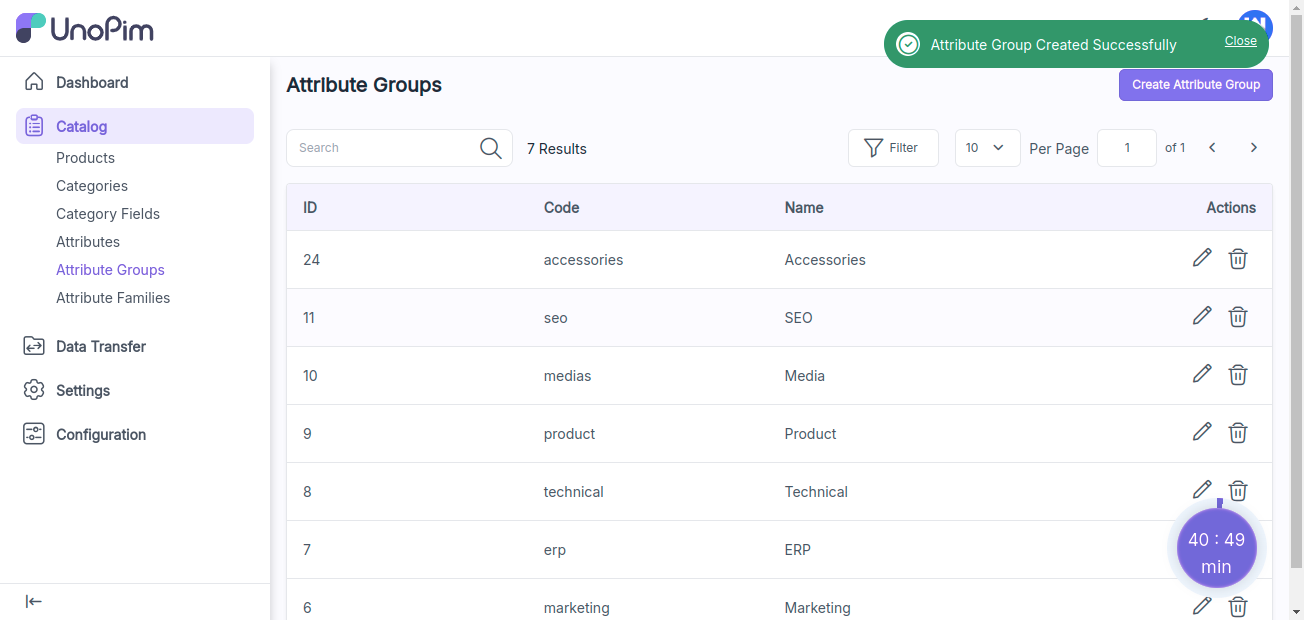
After that, you will receive a notification confirming that the attribute group has been successfully created. The user can then view all the attribute groups in the grid.

This is how you can create an attributes groups in UnoPim. Creating attribute groups in UnoPim is super helpful for keeping product data organized.
Hope this helps! If you encounter any issues, feel free to submit a ticket at our Support Portal.


Be the first to comment.