UnoPim is a free and open source PIM tool that accelerates the growth of eCommerce businesses.
By centralizing all product information in one place, it simplifies management and helps save both time and costs.
In PIM (Product Information Management), product categorization means arranging products in a way that makes it easy for your customers to find and shop for what they need.
Before we dive into creating categories in UnoPim, let’s first explore how to create category fields in UnoPim.
How to Create Category Fields in UnoPim?
Category Fields in UnoPim are similar to product attributes but are used to organize and classify categories. Follow these steps to create a new Category Field:
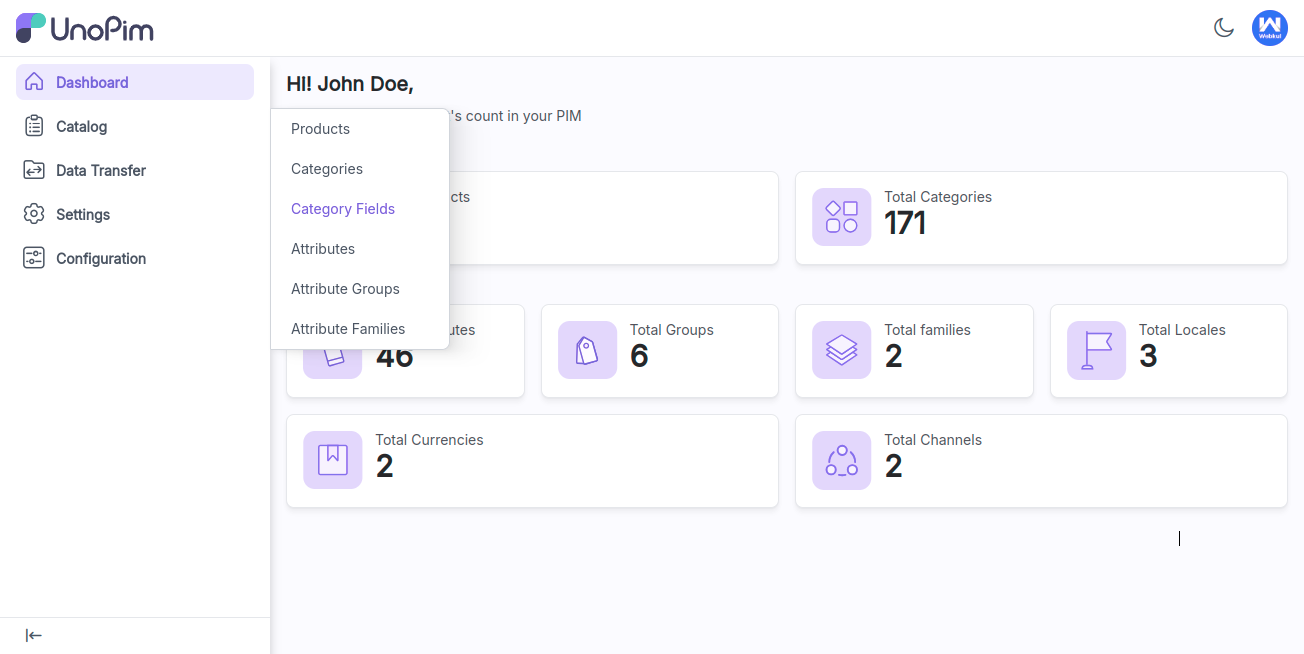
Navigate to the “Catalog” and click on the category field to view all existing categories and create new ones.
To create a new Category Field, click on Create Category Field.

Next, enter the Code and select the Type in the General section.
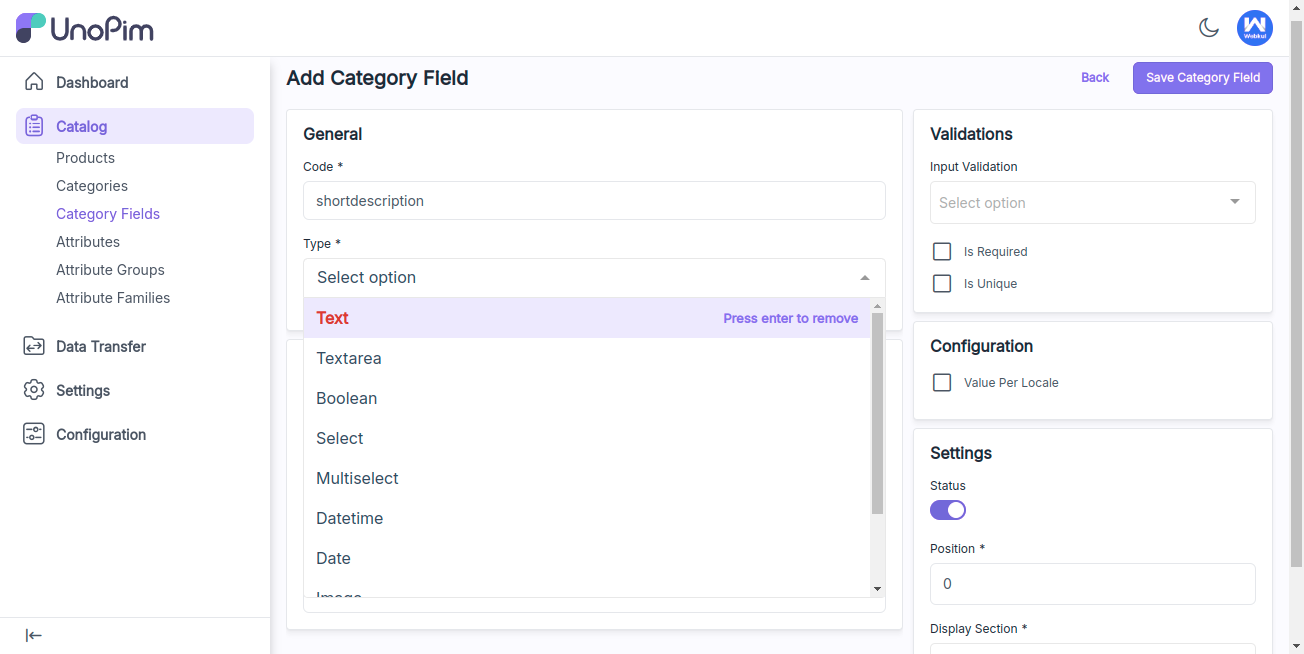
In UnoPim, there are 10 default field types:
- Text: A field for entering a single line of text, like names or email addresses.
- Textarea: A larger field for entering multi-line text, useful for longer comments or descriptions.
- Boolean: A field for true/false values, used for yes/no or on/off choices.
- Select: A dropdown menu for choosing one option from a list.
- Multiselect: Similar to Select but allows choosing multiple options from a list.
- Datetime: A field for selecting a specific date and time.
- Date: A field for selecting a date only, without time.
- Image: A field for uploading or displaying images.
- File: A field for uploading various types of files, such as documents or images.
- Checkbox: A small box that can be checked or unchecked, used for binary choices.
Note: The “Is Unique” validation option is only available for the Text, Datetime, and Date field types.
If you select the Textarea field type, an additional option will appear: Enable Wysiwyg Editor. This allows you to enable or disable the WYSIWYG editor for that specific field.

Validations and Settings for Category Fields
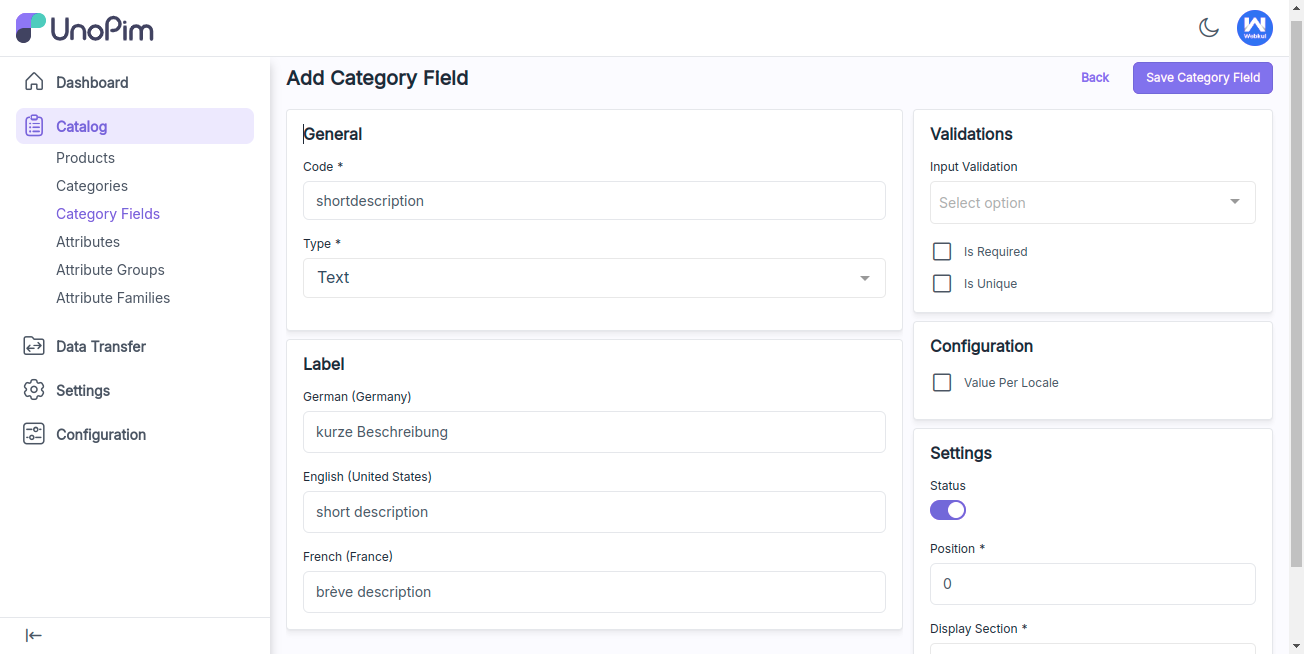
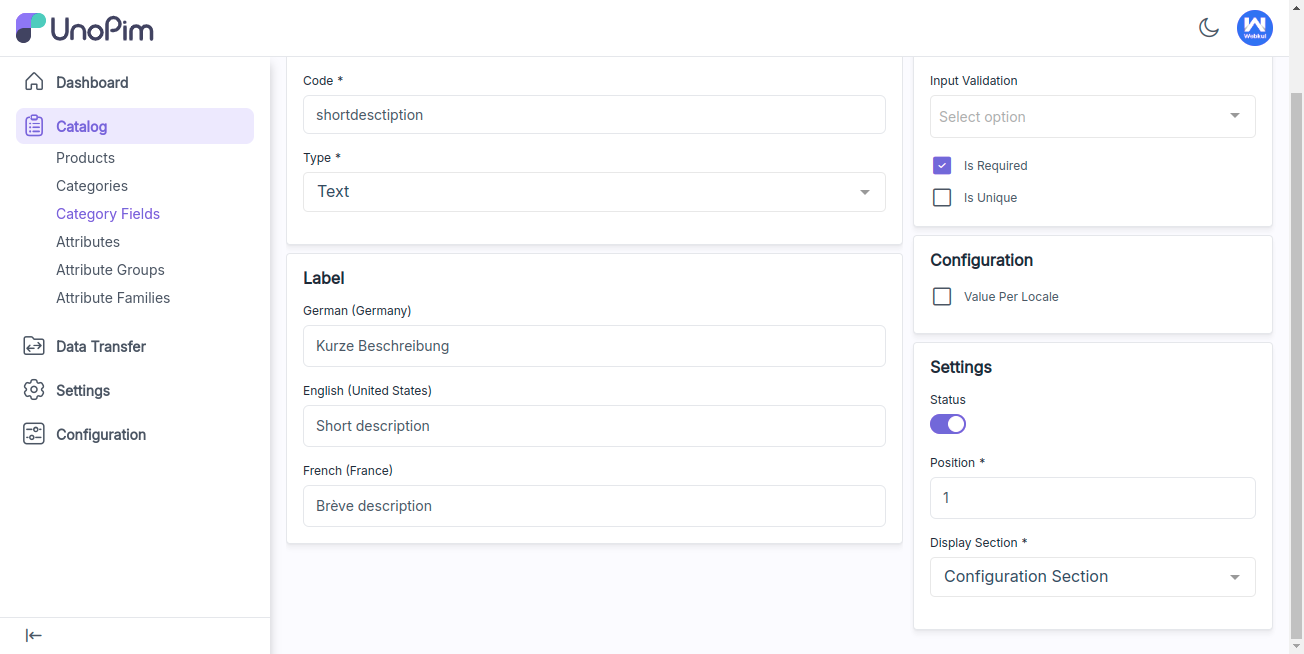
Enter the Label for your category field, as shown in the image below.
In text type of attribute you can select the input validation for the attribute as per your need.
After that set validation and configuration options:
- Is Required: Check the box if the attribute is mandatory.
- Is Unique: For text, date, and datetime attributes, check the box to make the attribute value unique.
- Value per Locale: Check the box if you want to allow different values for each locale.
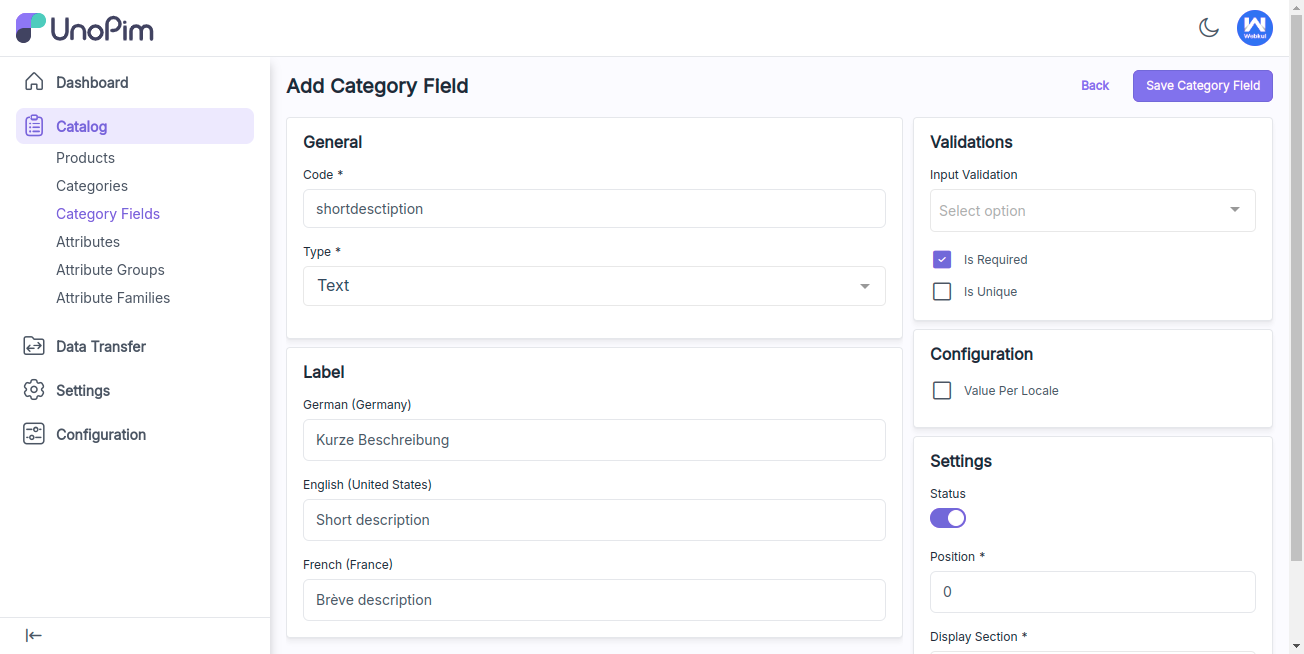
Settings:
- Status: Enable or disable the field.
- Position: Set the order in which the field appears when creating a category.
- Display Section: Choose whether the field should appear in the general section or a configurable section of category.
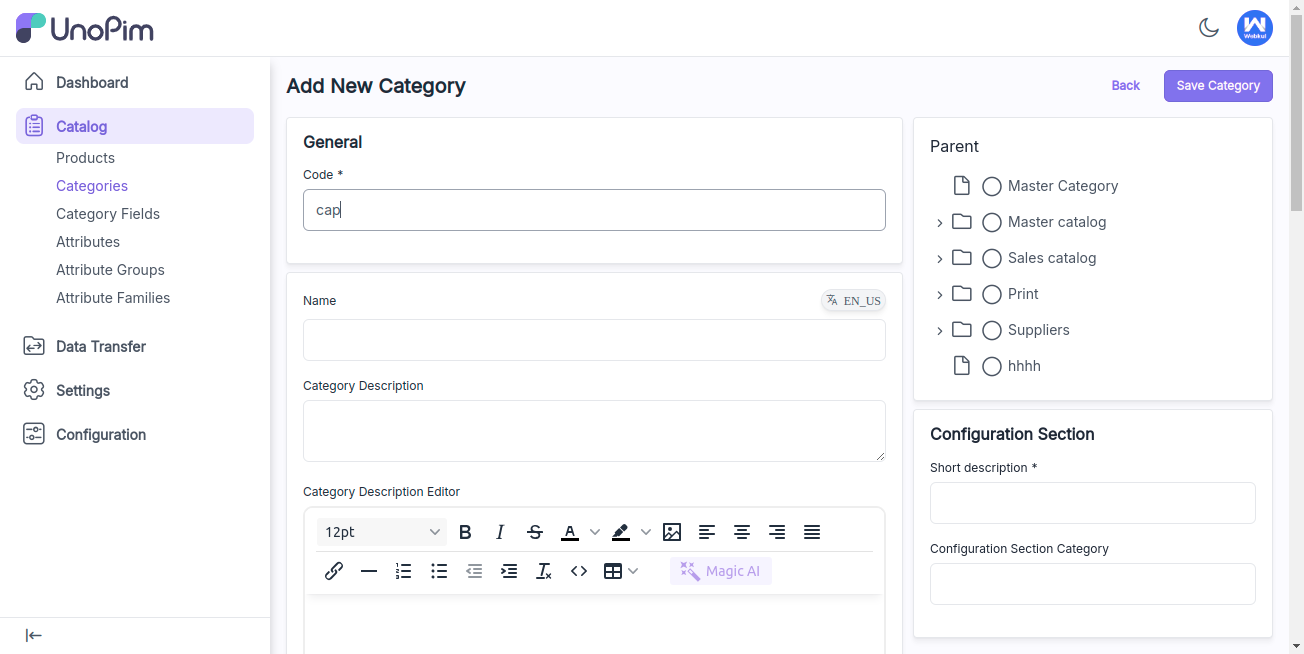
In the Display Section, if you select the Configuration section, the category field will appear in the section shown below:
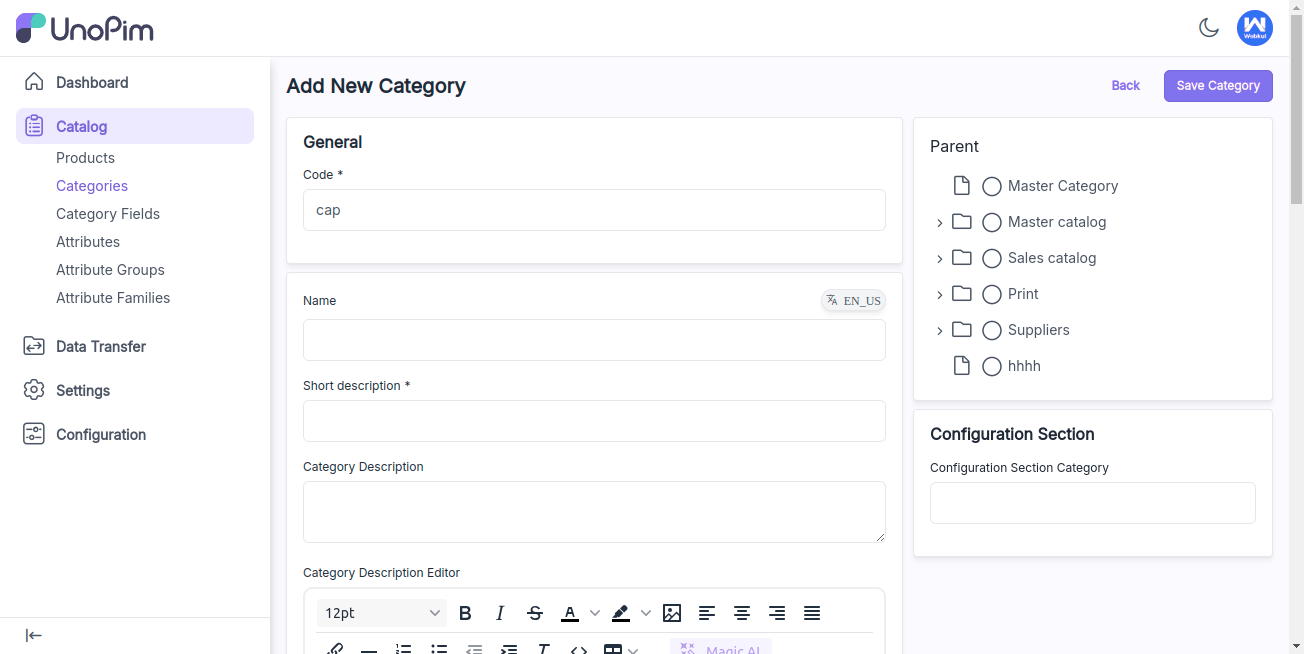
In the Display Section, if you select the General section, the category field will appear in the section shown below:
After that click the Save Category Field button to successfully create the new category field, as shown in the image below.
How to Create Category in UnoPim?
In UnoPim, a category helps group similar products together, making it easier to manage and find items. Each category can have different attributes to describe the products more clearly.
Navigate to Catalog > Categories, then click on Create Category, as shown in the image below.
After selecting the “Create Category” option, you’ll see all the default fields along with all the category fields that have been created and enabled.
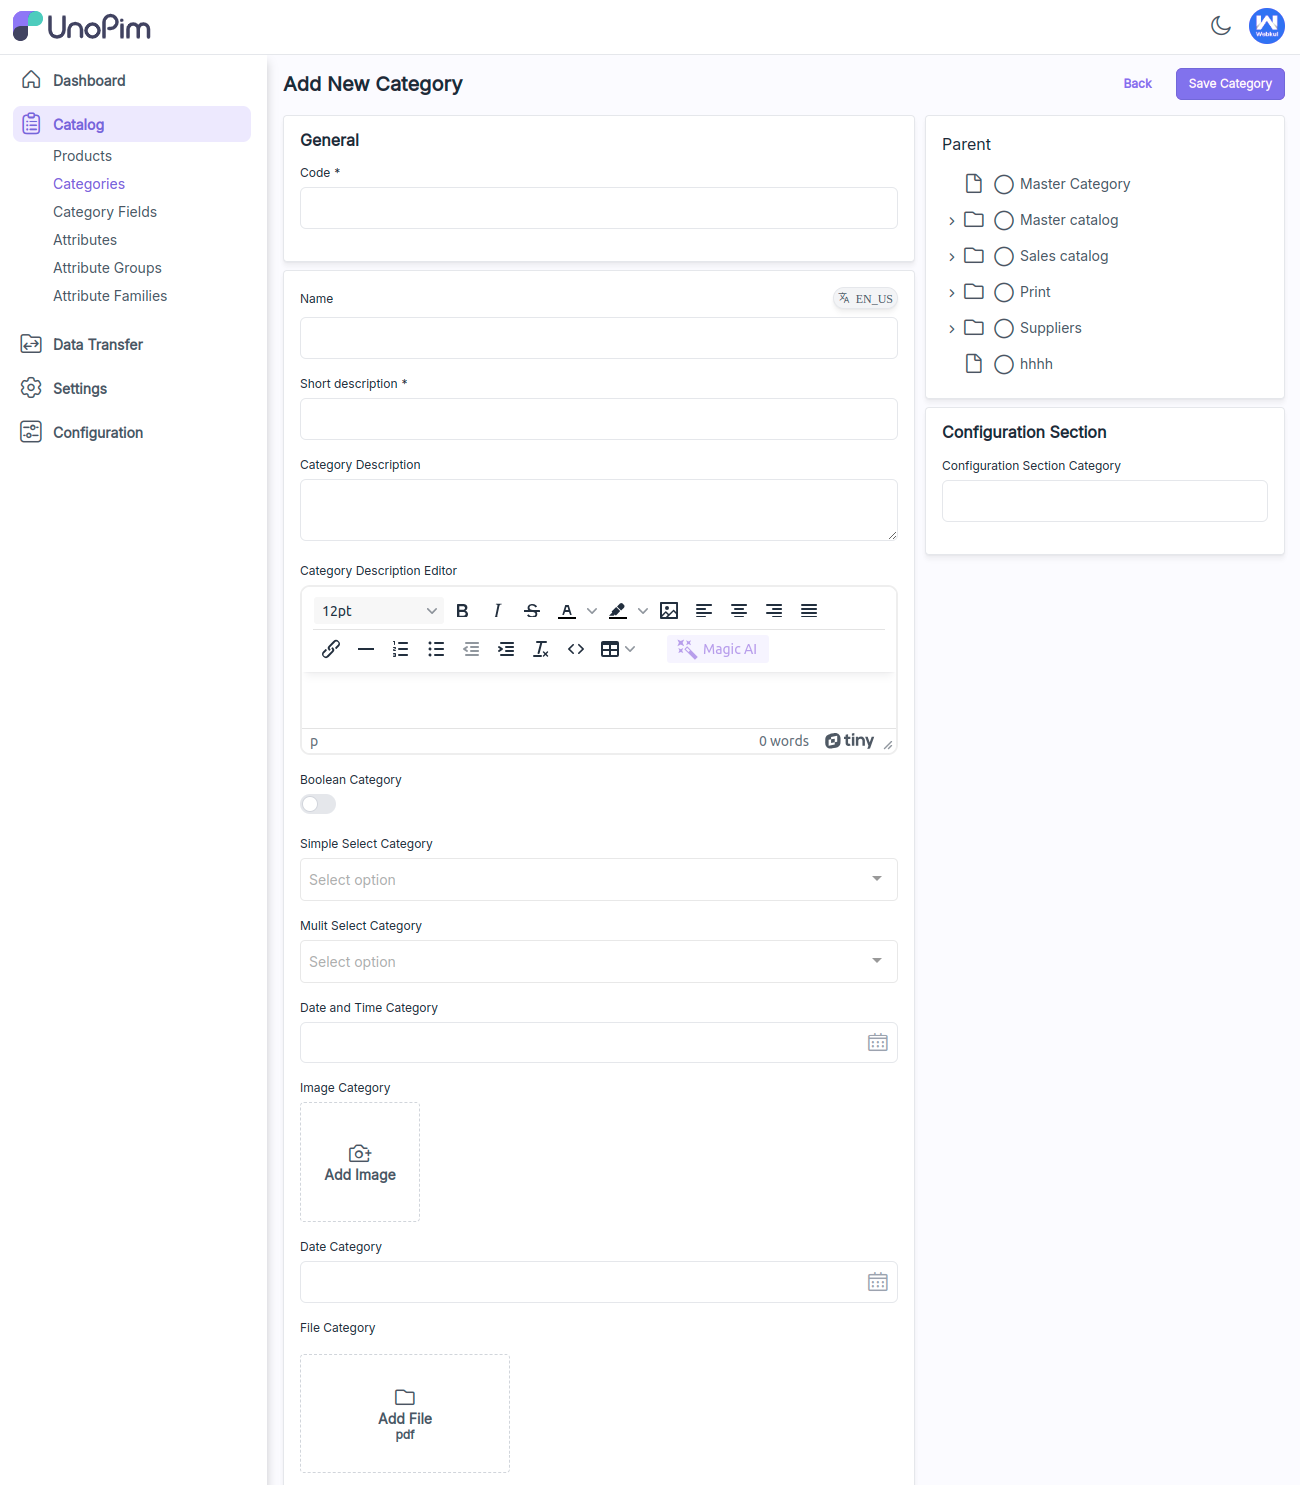
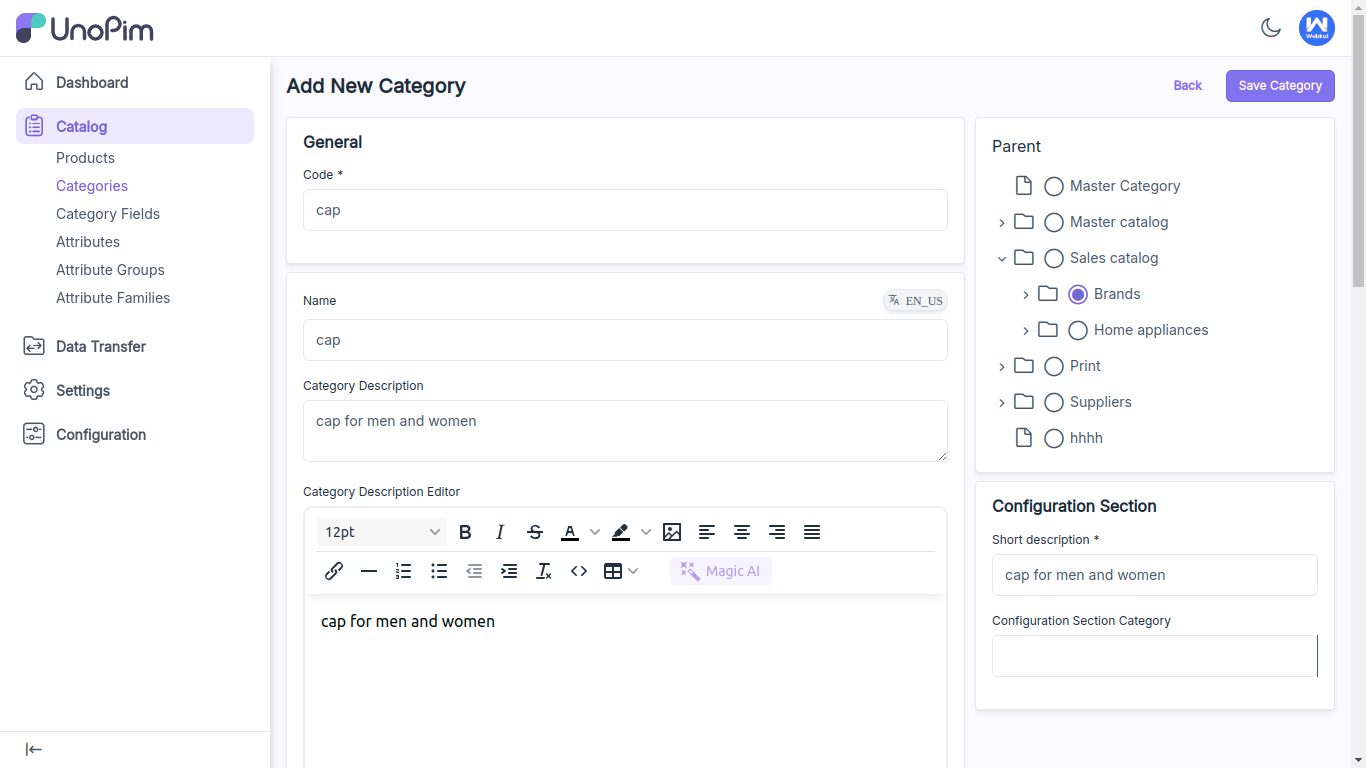
Enter the general information by providing the required details, including Code, Name, Description and other category fields.
After that assign the category to an existing parent category, or create a new parent category if needed.
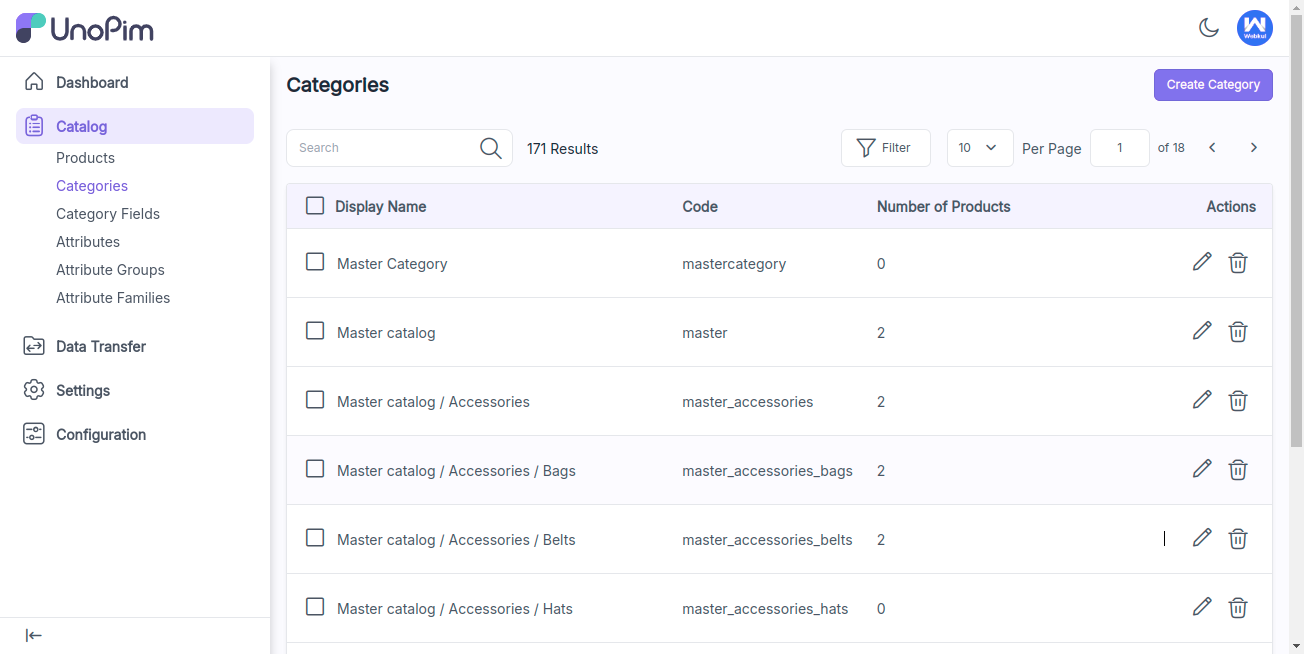
After that save the category, and it will be created with the name cap in the Data Grid, as shown in the image below.
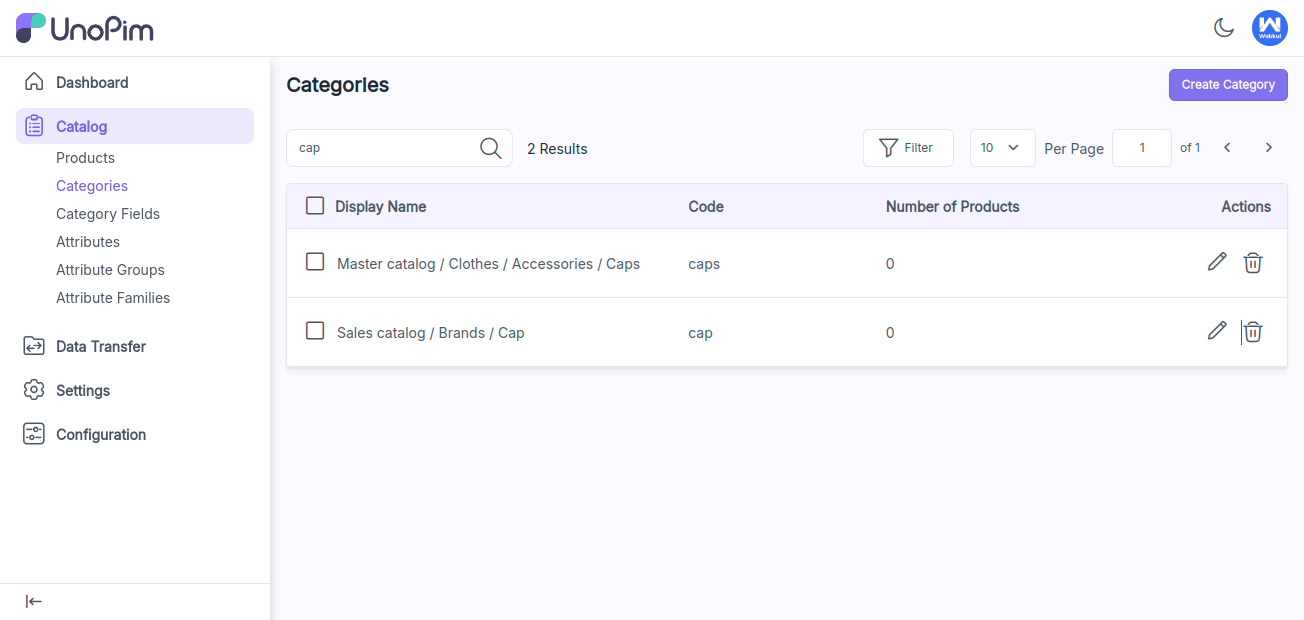
You can delete or edit existing categories as needed. Additionally, you can view the number of products assigned to each category.
Video Tutorial
Check out the following video tutorial below:
This is how to Create Category and Category Fields in UnoPim. I hope you find this information helpful! If you have any issues, please feel free to submit a ticket at our Support Portal.


Be the first to comment.