This user document provides step by step instructions on how to Install UnoPim on Windows.
Installing UnoPim on Windows
Installing UnoPim on Windows requires multiple steps. Use this step-by-step guide to assist you through the process:
Step 1:Visit the official UnoPim GitHub repository at UnoPim GitHub, and either copy the URL from the repository page or download the ZIP file.
You will need this URL to clone the UnoPim project to your local machine.
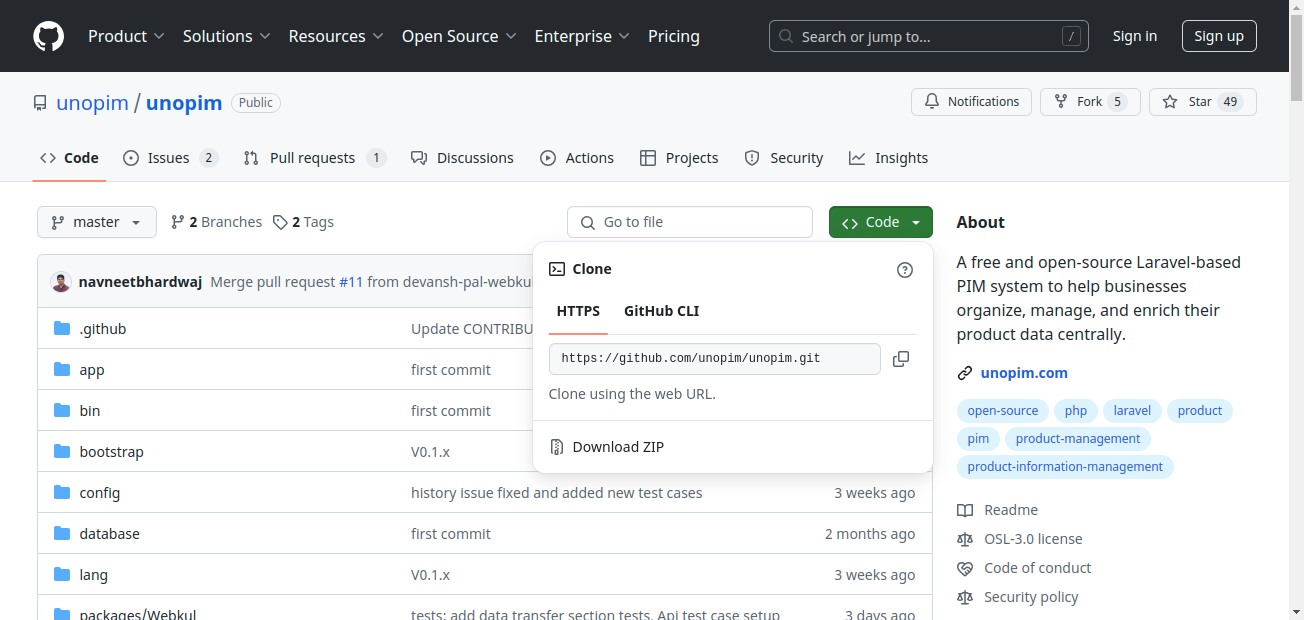
Step 2: Open your terminal and navigate to the folder where you want to store the UnoPim project, typically drive>>xamp>>htdocs. Paste your ZIP file there.
You can also clone the repository by using the following command:
“git clone [paste the copied URL here]“
Or, download the ZIP file and extract the UnoPim codebase into a new folder named “UnoPim” in your chosen directory.
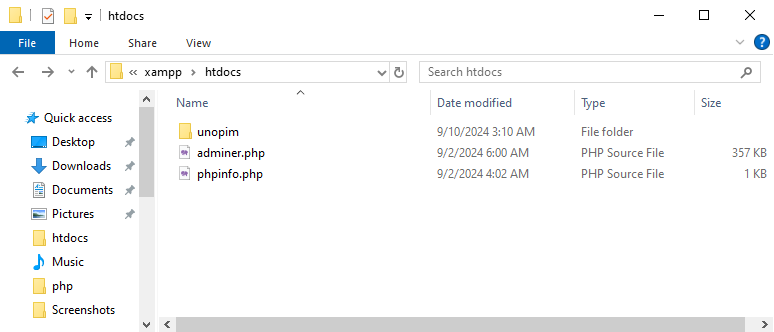
Step 3: Once cloning is complete, navigate to the “UnoPim” directory using the terminal:
unopim Step 4:
Then, run:
composer install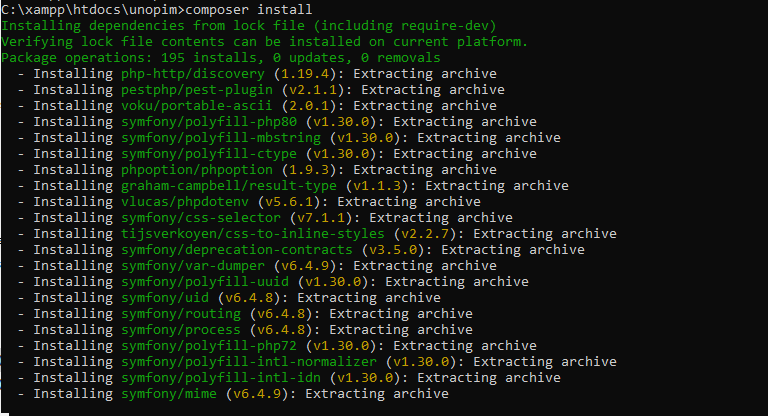
This command will install all necessary PHP dependencies required by UnoPim, as specified in the composer.json file.
Step 5: Set up a new database in your database management system (e.g., MySQL, PostgreSQL). Record the database host, port, name, username, and password, as you need these details for the configuration.

Step 6: Run the Installation Command: In the terminal, within the “UnoPim” directory, execute:
php artisan unopim:installThis command initializes the UnoPim application, creating all the required tables and schema in your database.
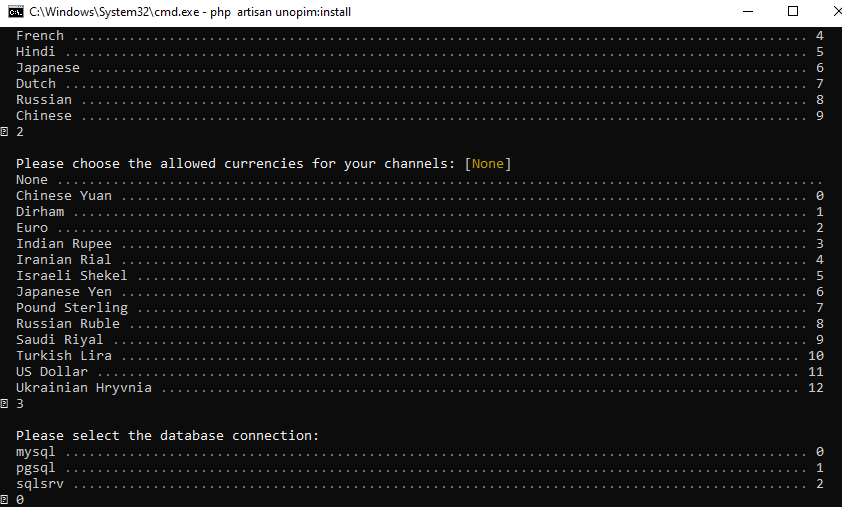
Step 7: You need to enter all the details, including the application name, URL, and selected currency, default locales etc as shown in the images below.
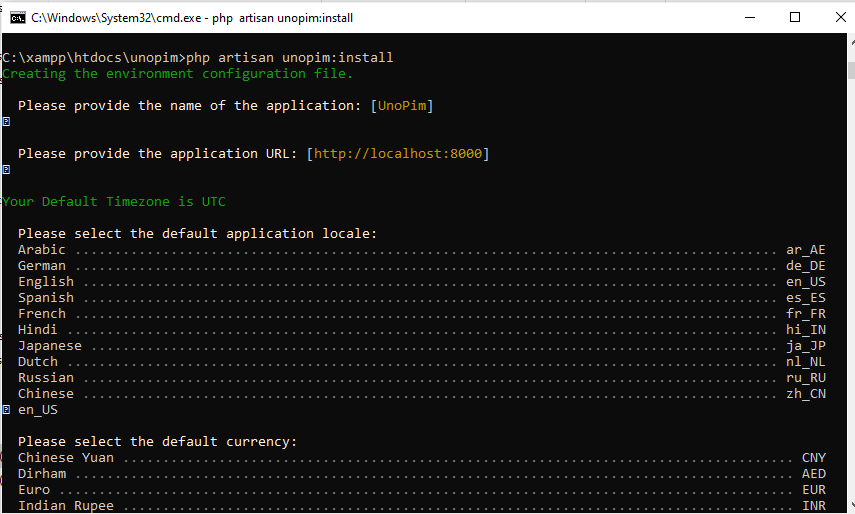
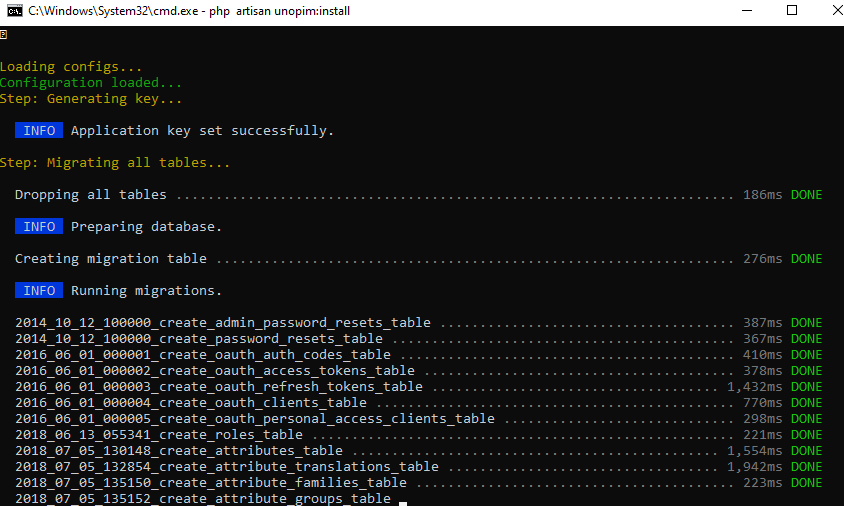
Step 8: Migration will begin, and please note that tables are continuously being added to the database as part of the process.
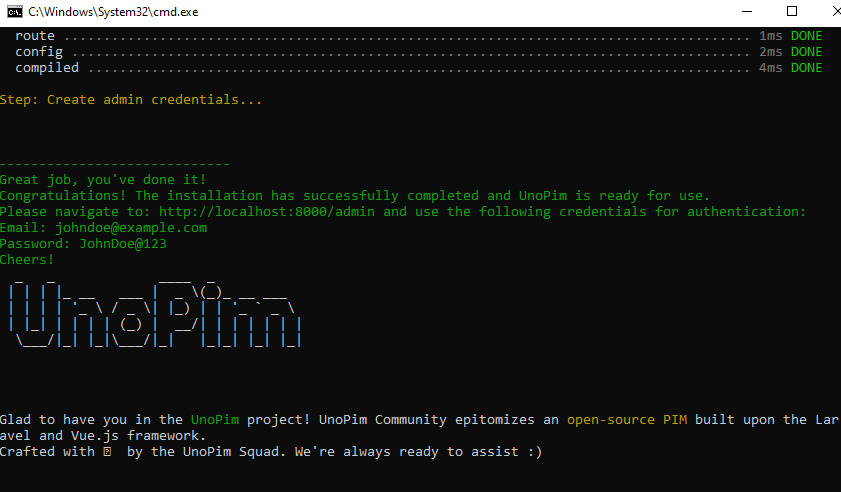
You will then receive the admin details, including the name, email, and password.
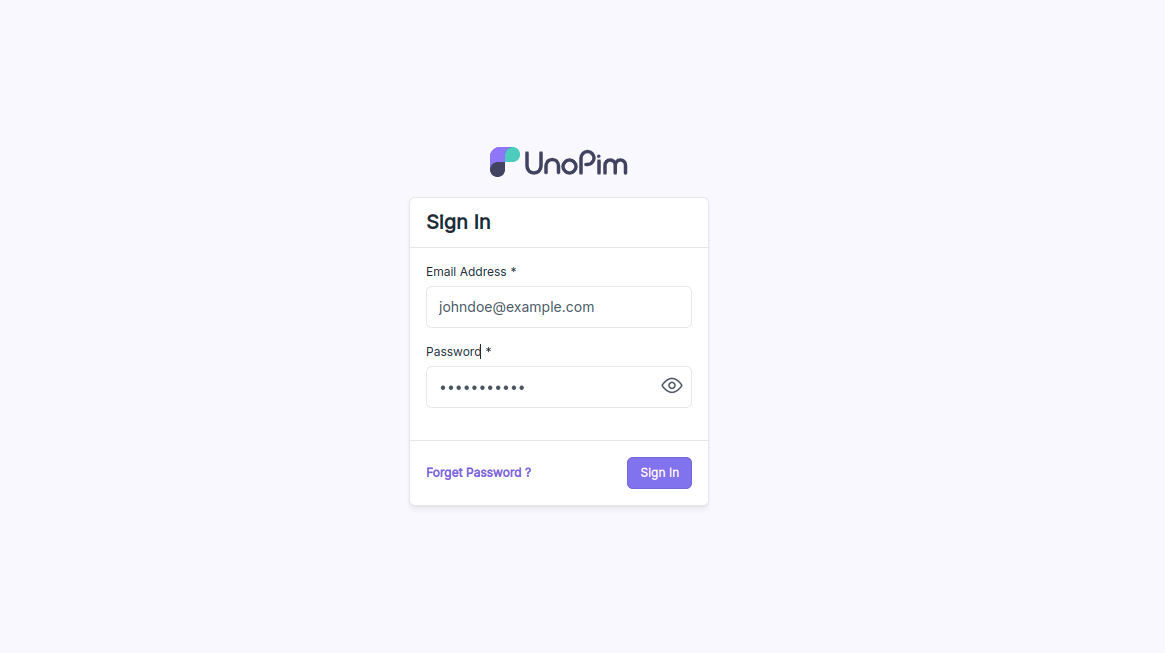
Step 9: Once the setup is complete, open your web browser and navigate to your local server, typically http://localhost:8080/admin.After that you will be redirected to the UnoPim login page, where you need to enter your email and password.
Use the credentials you set up during installation to log in.
Once logged in, you can check the UnoPim dashboard to ensure everything is functioning as expected.
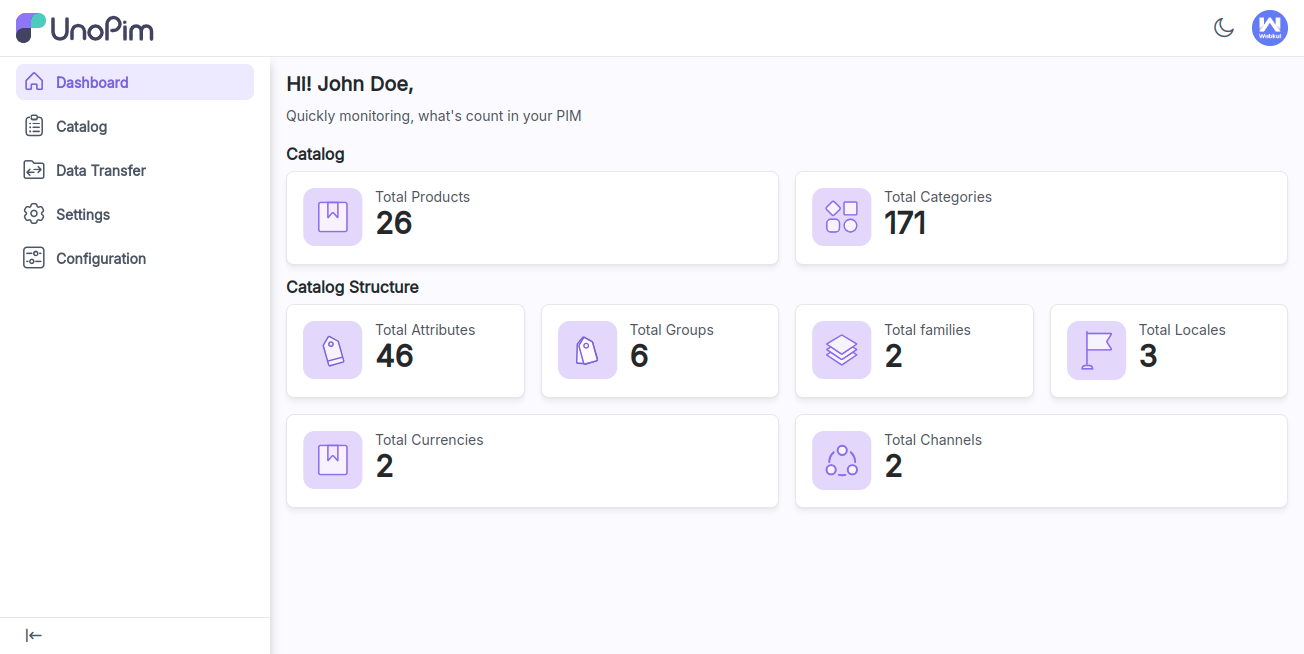
This is how to install UnoPim on Windows.
Video Tutorial:
Check out the following video tutorial below:
We hope you find this guide helpful! If you encounter any issues, please feel free to submit a ticket at our Support Portal.


Be the first to comment.