Terminal based job execution is a reliable method for automating tasks directly from the command line. With Terminal based job execution, you can efficiently manage scheduled operations, data processing, and background jobs.
This guide outlines how to execute jobs within the Unopim platform using the terminal. This method can be beneficial for automating tasks, integrating with other systems, and performing bulk operations.
Executing these background jobs directly via the terminal is a key feature, enabling efficient job management and monitoring. Users can ensure tasks are processed correctly and on time.
You can schedule tasks by defining the appropriate time intervals in the crontab file. Ideal for developers, system admins, or anyone looking to streamline background processes like backups, script executions, and log cleanups.
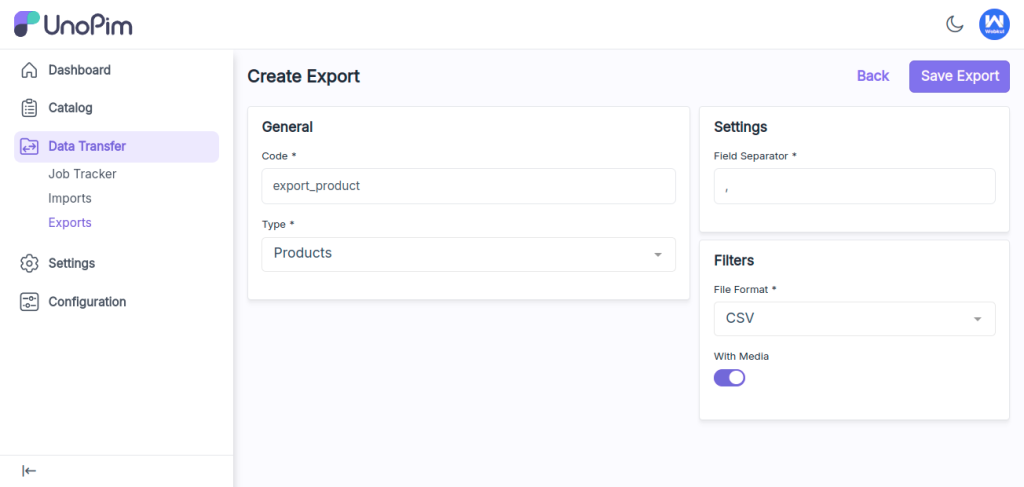
Step 1: Create a job in unopim
To execute jobs via the terminal in Unopim, the first step is to create a job.

Step 2: Retrieve the job ID and user email id for use in terminal commands
You can execute specific jobs directly using the php artisan unopim:queue:work command, along with parameters like the Job ID and user email ID. Here’s how it works:
php artisan unopim:queue:work {JobId} {userEmailId}
How to set up cron scheduling
Cron jobs are a useful way to schedule recurring tasks on Unix-based systems. They allow you to automate actions like data export and import using scheduled commands.
Step 1: Open the crontab configuration
To begin setting up a cron job, you’ll first need to open your crontab file.
crontab -eStep 2: Add a cron job
Let’s add a cron job that runs a Laravel command every hour. You can schedule tasks by specifying the appropriate interval in the crontab file.
To run a Laravel command every hour, add this line to your crontab:
0 * * * * /path/to/your/project/artisan unopim:queue:work {JobId} {userEmailId}You can use CronGuru to help set the correct schedule time for your cron jobs in a simple, readable format.
Step 3: Save and exit the crontab
Once you’ve added the necessary cron jobs, save and exit the crontab editor. If you’re using vi or vim, press Esc, then type :wq and hit Enter
Step 4: Verify cron jobs
Once you’ve set up your cron job, the next step is to make sure it’s running correctly.
crontab -lUnopim is a helpful tool for managing asynchronous tasks, allowing developers to offload time-consuming operations to background jobs. f you’re just getting started with Unopim, be sure to explore our guide on setting up queues in Unopim to build a strong foundation.